You are currently viewing documentation for Linnworks Desktop, if you are looking for Linnworks.net documentation, click here.
ekmPowershop ~ Config
Configuring ekmPowershop Integration
Once ekmPowershop is integrated with Linnworks it will appear in the list of channels on the Channel Integration screen.
From here it is possible to enable / disable integration, inventory sync for each individual channel as well as configuration and inventory mapping tools.
Config
|
Fig 1.1 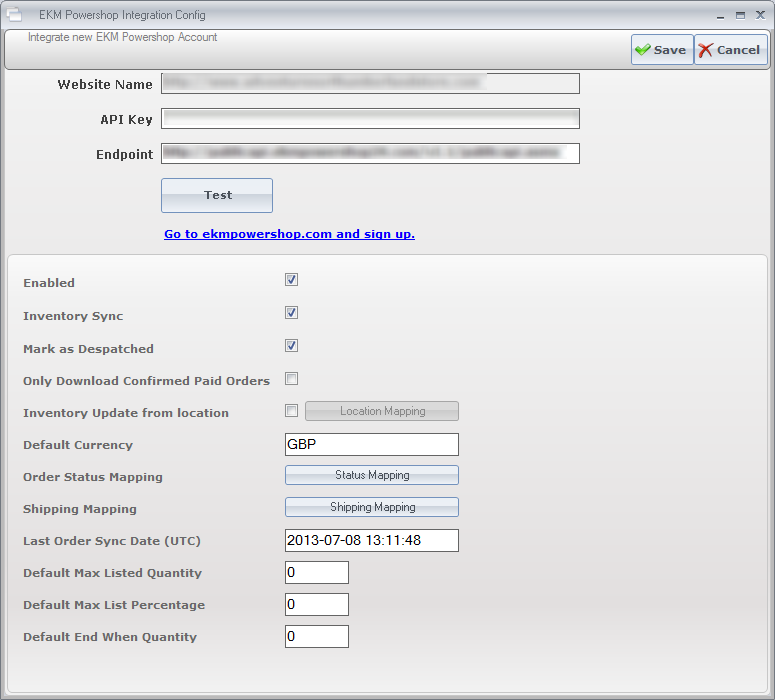 |
Options
Enabled
|
Inventory Sync
|
Mark as Despatched
|
|
Inventory Update from Location
|
Default Currency
|
|
Order status Mapping
|
Fig 2.1  |
Shipping Mapping
|
Fig 3.1 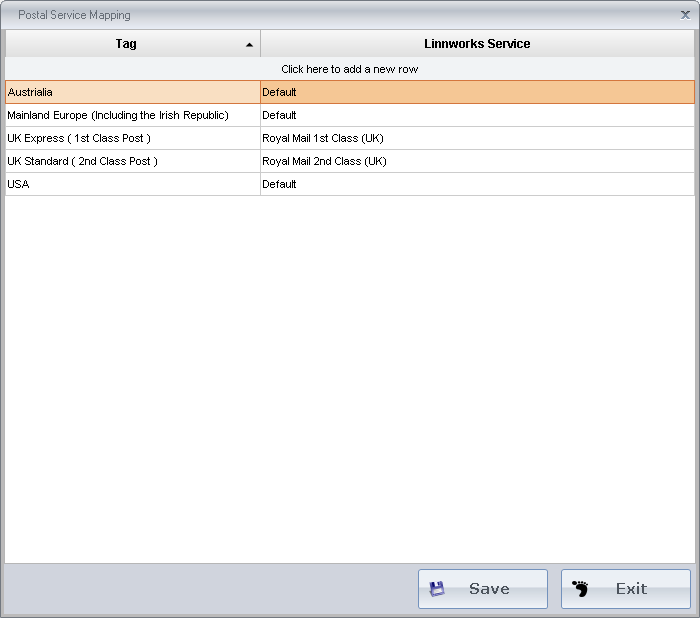 |
Default Max Listed Quantity
|
|
Default Max Listed Percentage
|
|
Default End When Quantity
|