You are currently viewing documentation for Linnworks Desktop, if you are looking for Linnworks.net documentation, click here.
Feature Buttons
Feature Buttons
|
|
|
Fig 1.1 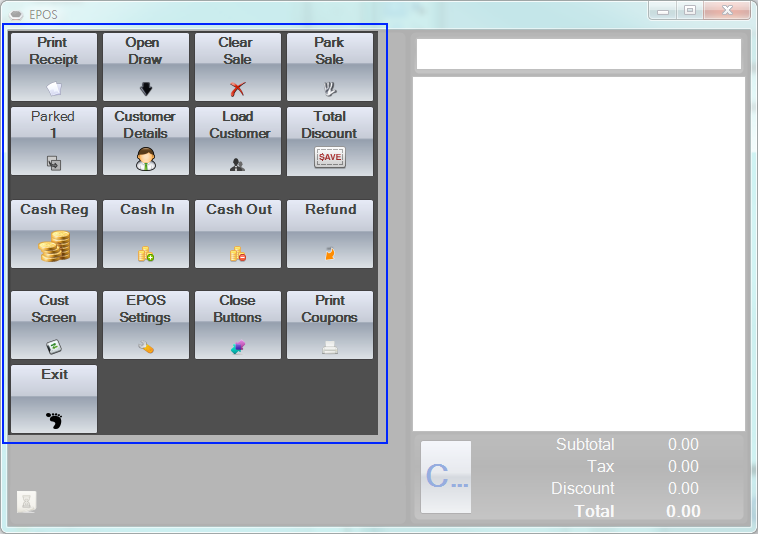 |
Print Receipt
|
|
|
Open Drawer
|
|
|
Clear Sale
|
|
|
Fig 2.1 |
Park Sale
|
|
|
Fig 3.1 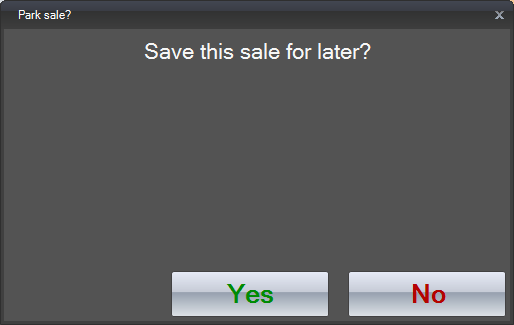 |
Parked
|
|
|
Fig 4.1 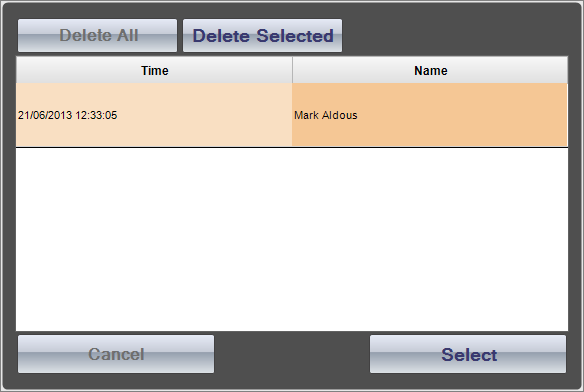 |
Customer Details
|
|
|
Fig 5.1 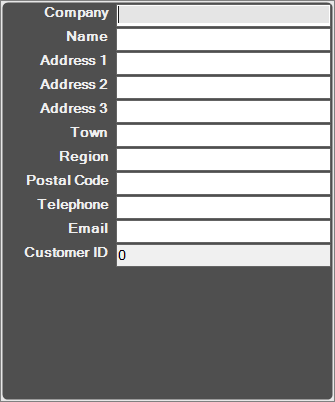 |
Load Customer
|
|
|
Fig 6.1 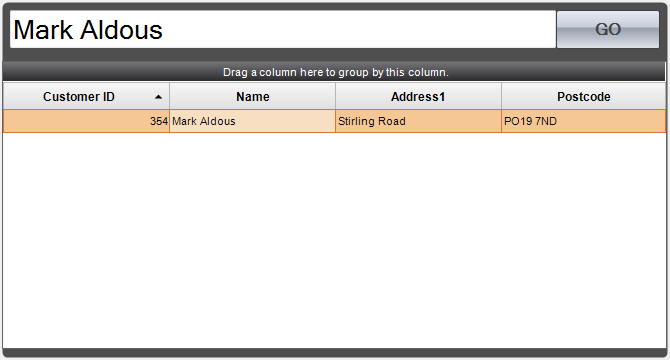 |
Total Discount
|
|
|
Fig 7.1 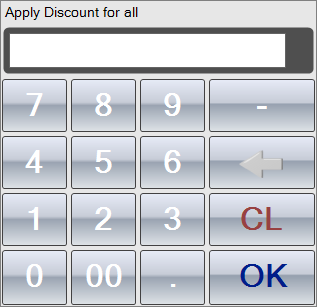 |
Cash Reg
|
|
|
Fig 8.1 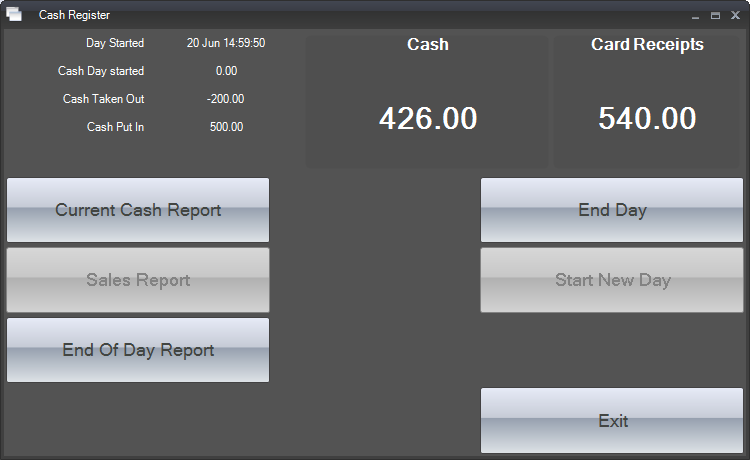 |
Cash In / Cash Out
|
|
|
Refunds
|
|
|
Fig 9.1 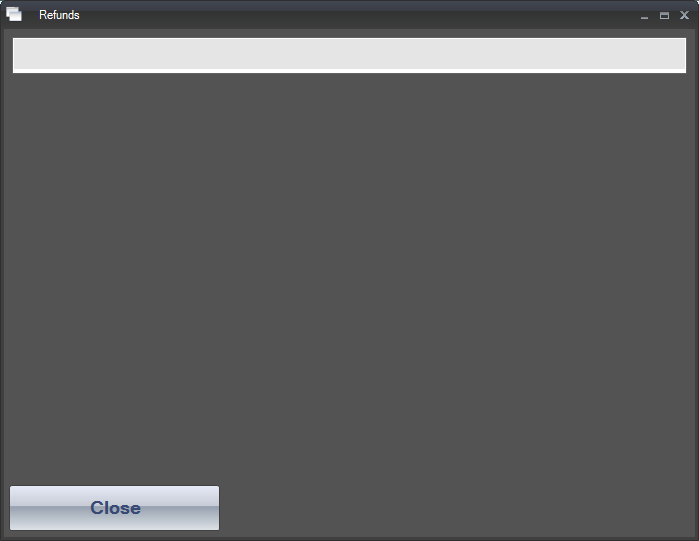 Fig 9.2 Fig 9.2 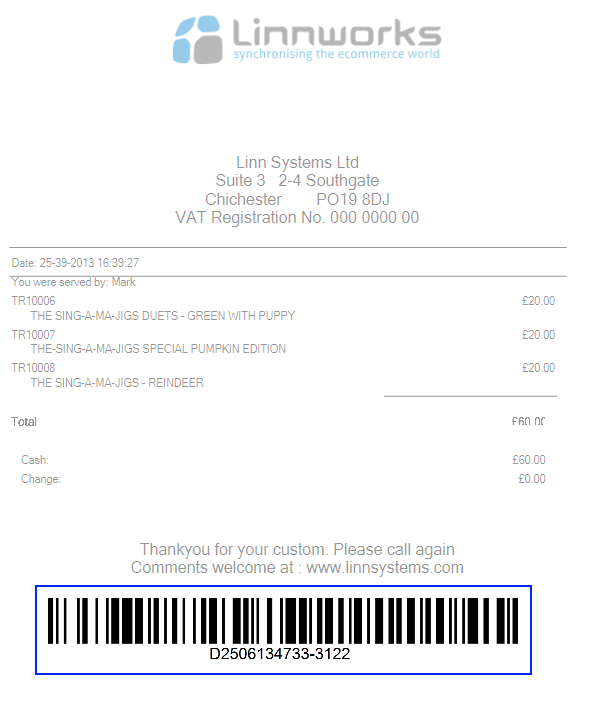 |
|
|
|
Fig 9.3 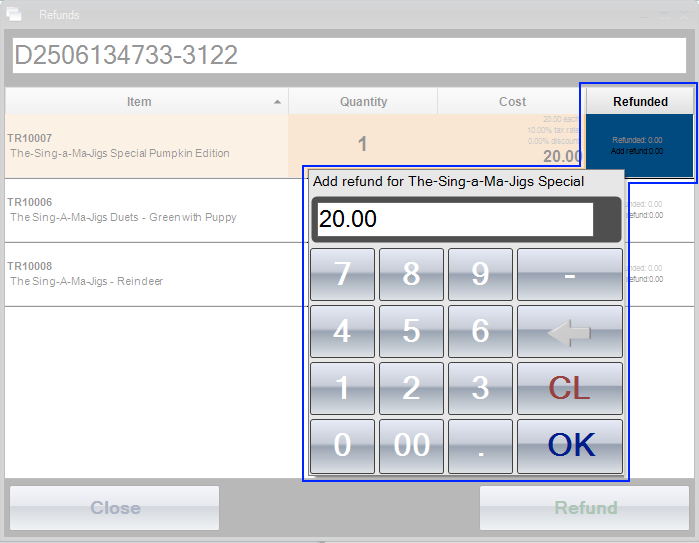 Fig 9.4 Fig 9.4 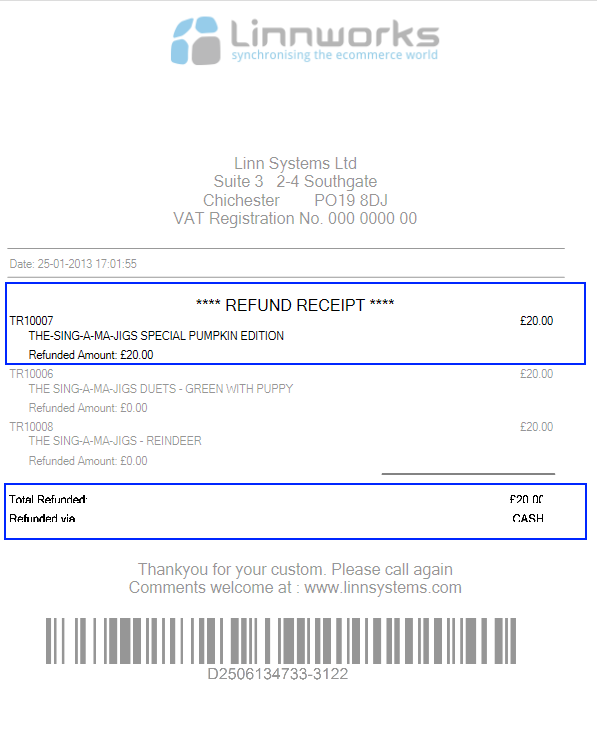 |
Cust Screen
|
|
|
Fig 10.1 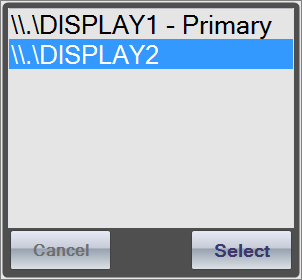 |
EPOS Settings
|
|
|
|
Close Buttons
|
|
|
|
Print Coupons
|
|
|
Fig 11.1 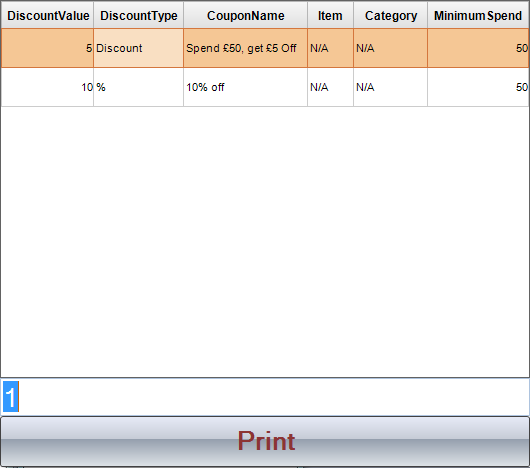 Fig 11.2 Fig 11.2  |
Exit
|
|
|
|