3DCart Integration - Order Management and Inventory Control
Overview
This document describes how to set up 3D Cart within Linnworks. Here you can also find information about what functions Linnworks can perform while working with 3D Cart and how to configure this channel.
Setting up 3DCart integration
3DCart integration allows the system to:
- Automatically download new orders
- Update the status of orders
- Submit fulfilment data
- Synchronise stock levels
To set up 3D Cart Order Book integration go to Settings > Channel Integration. From this screen you can add, delete and modify selling channels that you wish Linnworks to integrate with.
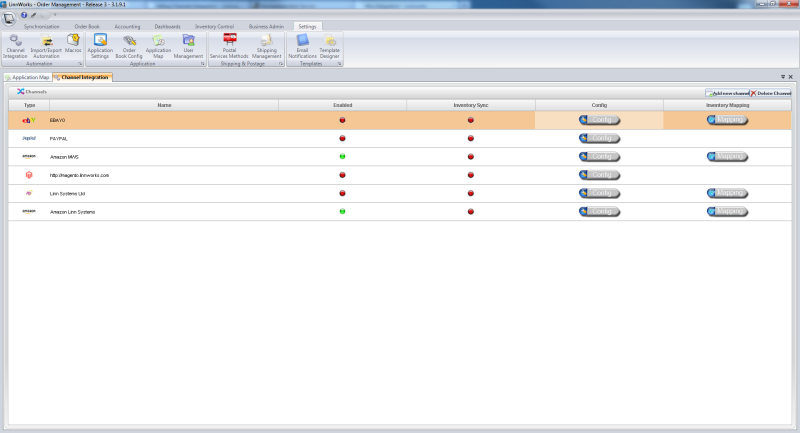
Click the Add new channel button on the right of the screen to bring up the New Channel selection screen. Now select 3D Cart from the list and click Integrate.

You will be presented with the 3D Cart Integration Config screen which will walk you through the process of integrating your eBay account within Linnworks.

On this screen you need to enter your sites URL and your API key. Your API key can be obtained by following these steps:
- Log into your 3D Cart Online Store Manager.
- Go to Settings > General > Store Modules
- Click the checkbox next to Enable API.
- Copy the API User Key and click Save Changes to commit the new settings.
Once you have copied the API Key across and filled in all of the fields on this window click the Save button, remembering to Test the connection first.
Configuring 3D Cart Integration
Once you have set up your 3D Cart account to work with Linnworks it will appear in the list of channels on the Channel Integration screen. From here you can enable / disable integration and inventory sync for each individual channel as well as configuration and inventory mapping tools.
Enabled
To enable / disable individual channel integration within Linnworks, simply click the small circle in the Enabled column that corresponds to the channel you wish to alter. A green light means that the channel is enabled in Linnworks, while a red light denotes that it is disabled.
Inventory Sync
The same process applies to the Inventory Sync function, clicking a circle will toggle between enabled and disabled for the specified channel. A green light means that the Linnworks will sync inventory with this channel while a red light indicates that it will not.
Config
Clicking the Config button for a specified channel will bring up the Account Config menu for that channel.
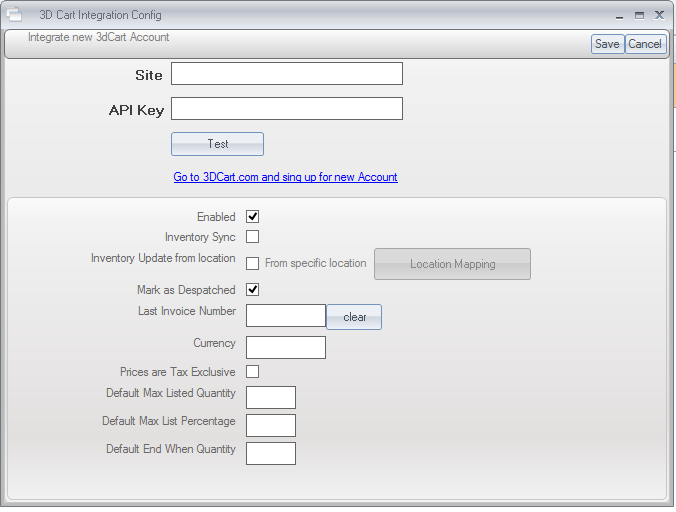
This is the same screen that appears when you first set up 3D Cart Integration. From here you can make changes to the settings, remembering to Test and click Save when you have finished making alterations.
MaxListedQuantity
This specifies the maximum level that will be sent to the channel. The level published will never be higher even if there is more stock within Linnworks.
EndWhenStock
This enables you to force the listing to end when the stock level gets to the specified amount as opposed to the default value of zero. Helping to give you a stock buffer so that you don't run out or oversell.
StockPercentage
This will send up a percentage of the current stock level. For example if you have 10 in stock and set the percentage to 50, 5 will be sent to the channel. Please be aware that Linnworks will always round down.