Volusion Integration
Overview
This document describes the information and steps required to set up an integration between a Volusion Store and Linnworks.
Prerequsites
- The integration with Volusion uses the API provided by Volusion.
- To use this it is required to have a hosting plan with Volusion that provides access to the API.
- Currently the minimum plan that support this is the Pro plan, please use the following link for further details
- http://www.volusion.co.uk/hosting-plans-pricing/
Integration Guide
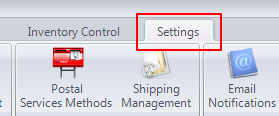
1. After opening Linnworks, select the 'Settings' tab.

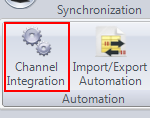
2. Select 'Channel Integration'.

3. Select the 'Add new channel' button.
![]()
4. Select the 'Integrate' button for Volusion.
You will need the following information:
Channel Name
An identifying name for your channel
API URL
The full API url for your site, ie 'http://www.myvolusion.com/net/Webservice.aspx'
API Username
The username for an Admin user for your Volusion Store.
API Encrypted Password
To get your Encrypted password for your volusion store, follow the steps below. Please note if you change the password for
the Admin Account used in the integration, you will have to change the Encrypted Password in the integration following
these steps again.
1. Login to your Volusion Store's admin page as an admin or super admin.
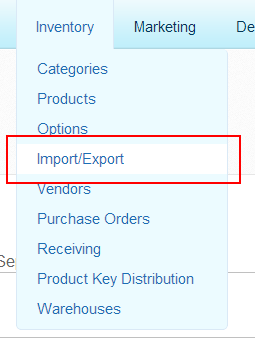
2. Select 'Inventory', then 'Import/Export'.
![]()

3. From the headings under 'Data Import', select 'Volusion API'.

4. Click on the green 'Get Help' button on the right.
5. Scroll to the bottom, and click on the link for 'Volusion API Integration Help'.
6. Select the options 'Instructions for 'Export', 'Generic Orders'.
7. Ensure the admin account you want to use is selected in the drop down on the next line.
8. at the bottom of the page is a blue line reading 'URL with Query String and General Information for Importing and
Exporting'. click on it.
9. In the line revealed that starts with 'https://', you will see phrase '&EncryptedPassword=' and a string of Letters and
numbers, followed by '&API_NAME'. Copy and paste the Letters and numbers between these two pieces of text, this is your
Encrypted Key.


