Template Designer Table Editing
Overview
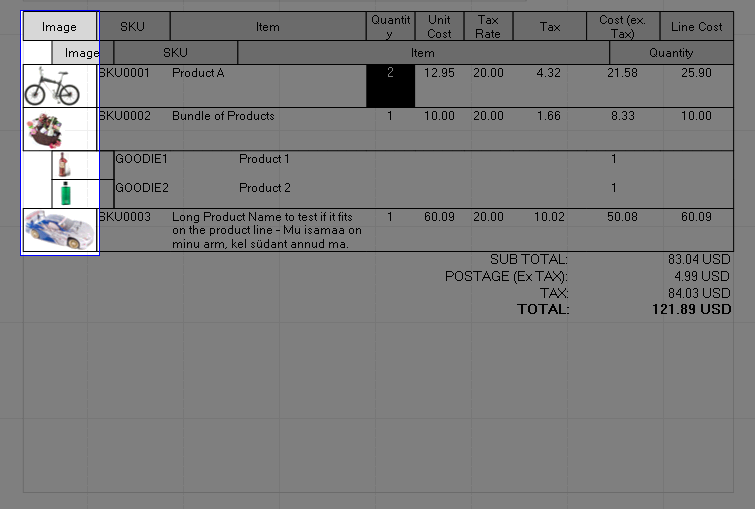
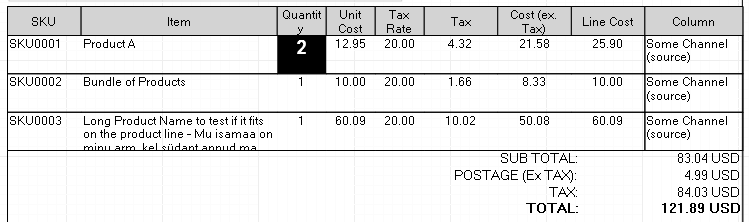
Tables in the template designer are pre-made tables for displaying tabular information such as Order items, Order Notes, Packing Lists, Pick Lists. These tables can be customised to change text formatting, column widths, add and remove columns, conditional formatting, remove table headers etc.
About Tables
Columns
Tables columns can be added or removed from the template, they can also have their width adjusted. The width is adjusted based on the percentage of space it occupies. Each column has a column header which describes the column and each cell in the column can have conditional formatting applied to it.
Rows
Rows represent each individual piece of data, in this case the product ordered. Row heights can be adjusted to a fixed height.
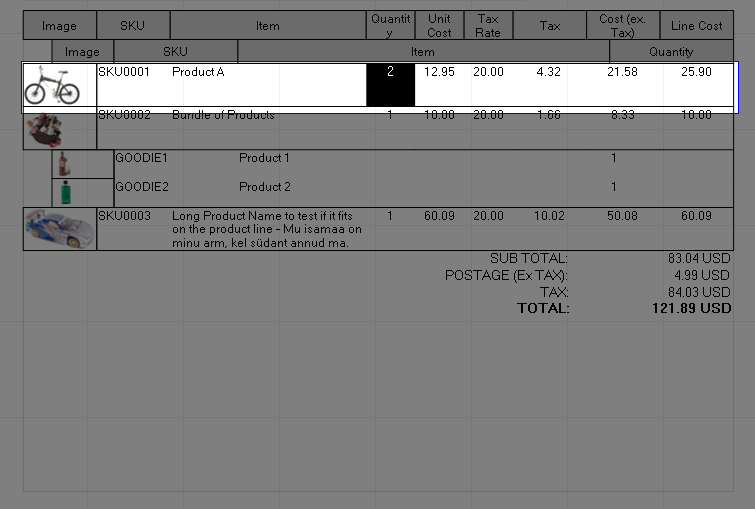
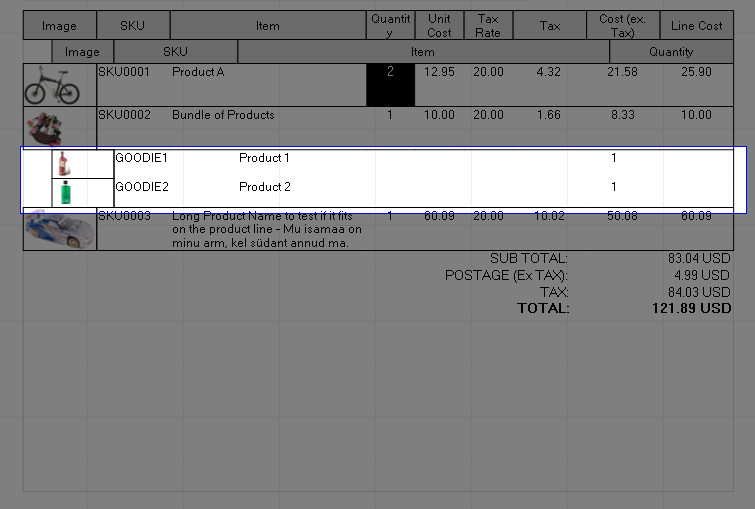
If an item is a composite sub rows can be applied to show the items making up the composite.
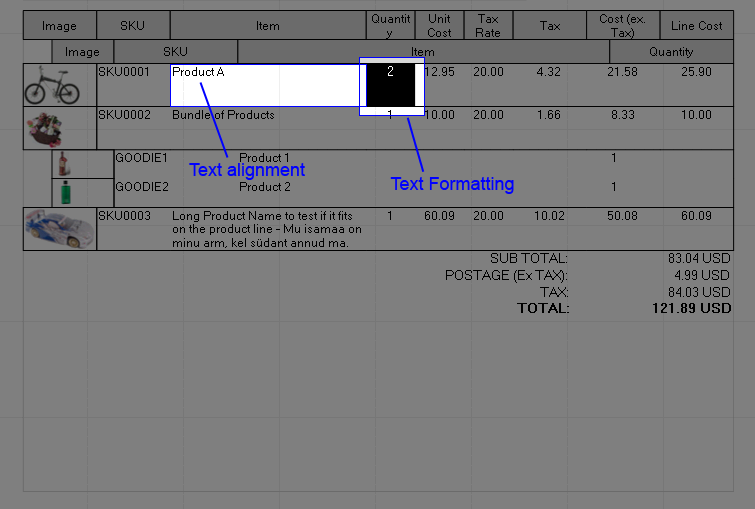
Cells
Each cell can contain text alignment, border settings and conditional formatting. For example highlighting multiple item quantities.
Headers
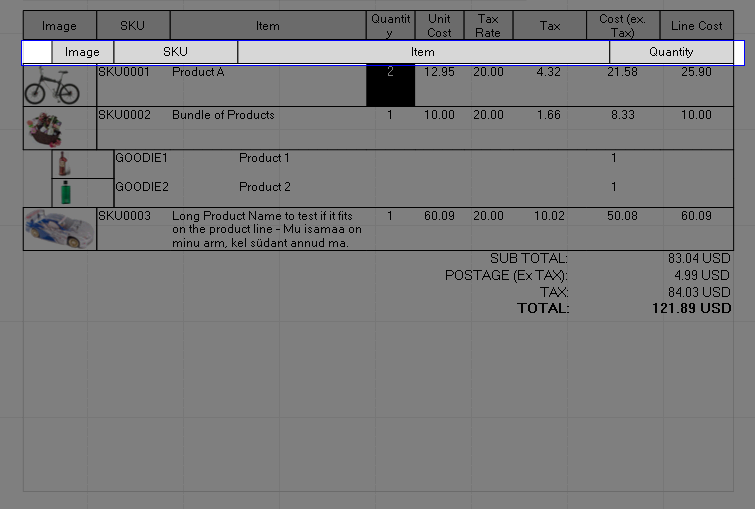
Every table can have a header. Headers contain information describing the information in the cells below.
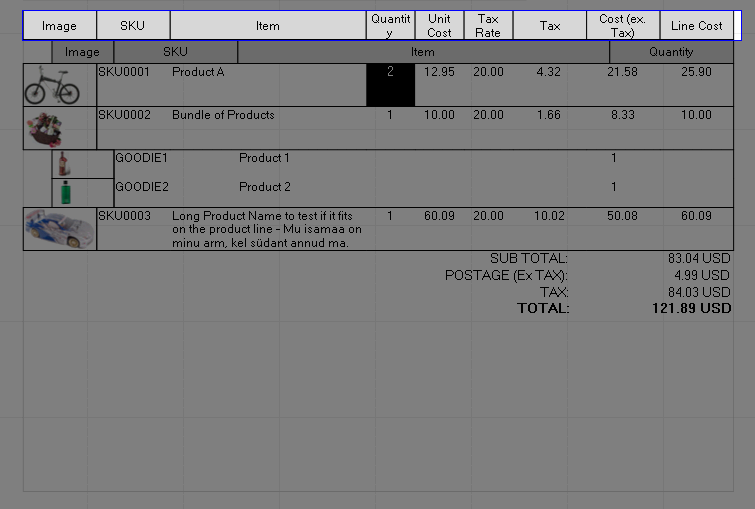
If the item is a composite then the sub header may be applied.
Summary
Tables in the template designer also contain a summary. The summary usually contains totals for information in the table above. Each row and column of the summary can be formatted individually.

Edit Table Screen
The table edit screen has four tabs; Columns, Settings, Sub-Table and Summary.
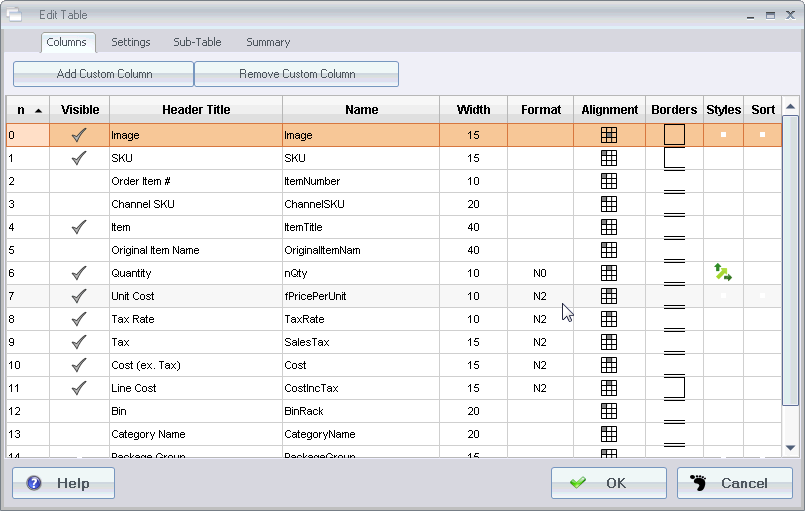
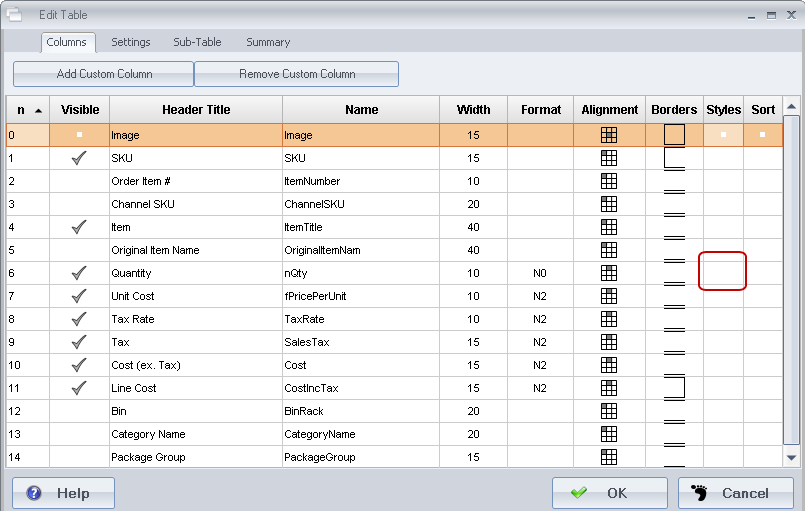
Columns Tab
The columns tab allows you to edit each column.
n: This is the order in which the column will be displayed.
Visible: If a column is set to visible it will have a tick. To set or unset a table column click in the visible field.
Header Title: This is the actual title displayed on the table.
Name: This is the name of the variable or the data that will display in the column.
Width: The width of a column is based on a percentage of the total column widths. E.g. If the total visible widths equals 150 the percentage that a column of width 15 would take up would be 10%.
Format: This is the format of the column output. This is usually used for numbers and how many decimal places are need. Example: N2 means two decimal places.
Alignment: This is the alignment of text in a cell.
Borders: This is the selection of borders used for a single cell.
Styles: Styles can be applied by clicking on the styles cell for the column. This will bring up a new screen where conditional styles can be applied
Sort: This orders the table contents by the set column, it's possible to sort by multiple columns, sorting can be applied either ascending or descending.
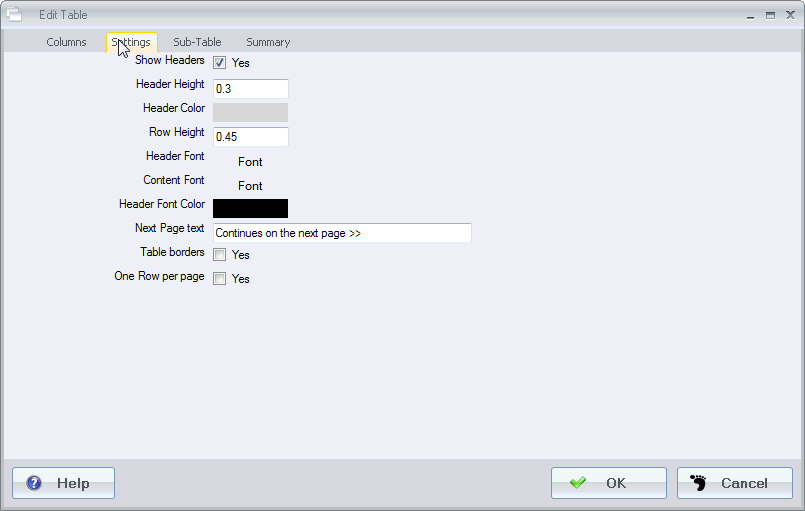
Settings Tab
The settings tab is used for generalised information about the the table such as header height, header fonts, header colours, Continuation text etc.
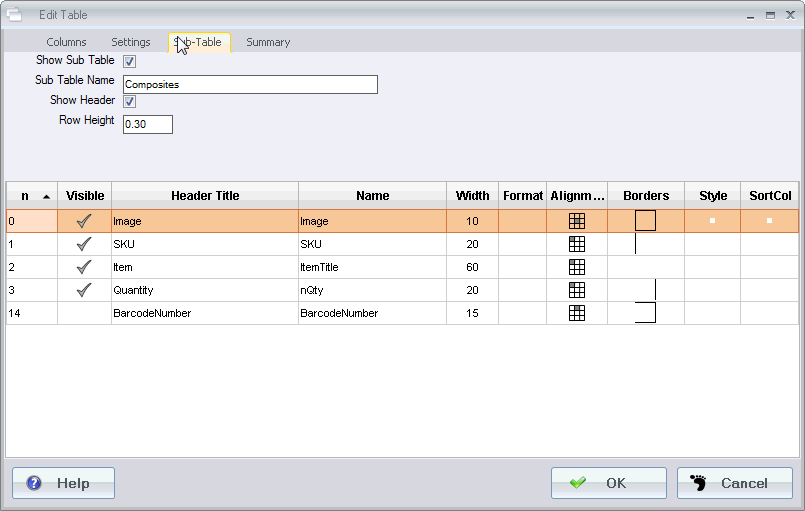
Sub-Table Tab
The sub table tab is essentially the same as the Columns tab with 4 extra options, show sub table, sub table name, displaying the header or not and the row height. In this case the sub table is used for composites.
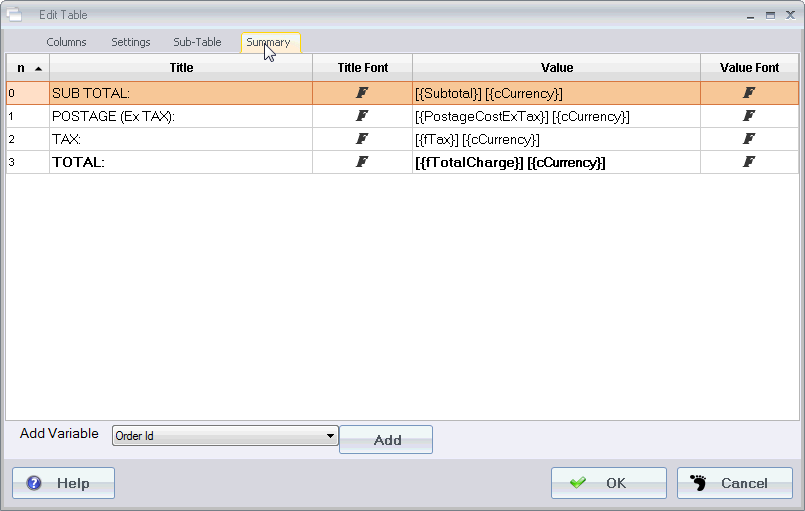
Summary Tab
The summary tab is for editing the summary box underneath the table.
n: This is the order in which the column will be displayed.
Title: This is the text that appears on the left of the summary
Title Font: This is for changing or applying fonts the summary title
Value: This is the output value that appears on the right hand side. These can be variables, conditional statements or plain text
Title Font: This is for changing or applying fonts the outputted value.
Applying Styles to a column
Column styles can have a default style and also have conditional styles applied to the column. This may be useful to highlight multiple quantities.
To apply a style to a column click on the styles column for the appropriate column. In this example we are going to apply styles to the Quantity column.
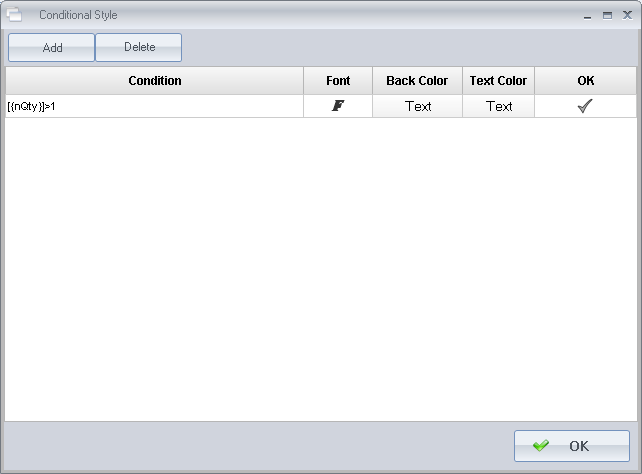
This will then display the Conditional style editor for the selected column. In this screen you can Add and Remove styles, set the condition for the style, change the font, background colour, text colour.
If a condition is blank then this will be the default condition. If you have two blank styles then this may produce a random style result.
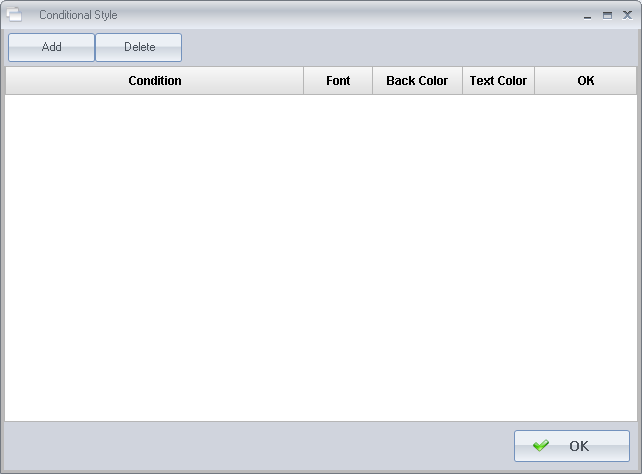
To Add a style click the add button. This will create a style with the default font, text colour and background colour.

First lets set a condition, the condition that I want to set is when the quantity is greater than one, I want it to apply different styling. To do this, click in the condition field, this will bring up a condition editor.
Select from the variables drop down the variable Quantity. This will insert the variable for you. Next we want to set the greater than one. In this case we can do this by applying >1 to the variable. To check that the syntax is correct click the "Check Syntax" button. If it's ok then it will say OK otherwise it will display an error.

Once finished click save to save the variable.
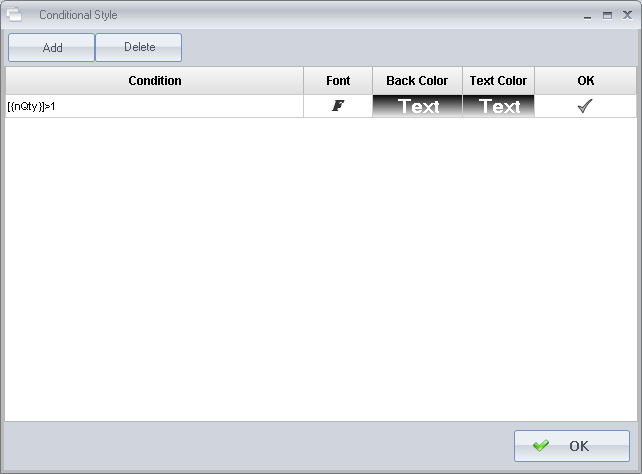
Notice that the condition field now displays the condition that was entered.
Next select some styling, background colour and text colour by clicking on the appropriate field.
| Font editor | Background and Text Colour editor |
 |
 |
Once you have selected the font settings and colours that are required click ok.
This will then show some representation in the editor of what colouring is applied. In this case, the font style has been changed to bold, the font size has been made larger, the background colour has been changed to black and the text changed to white.
Once editing has been finished click on the OK button.
Lets now see the result of changing the highlighting of text.
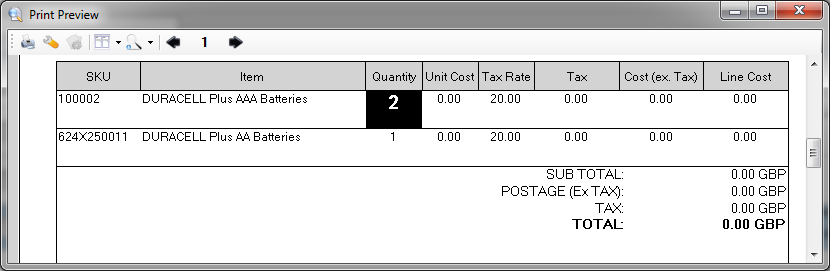
Notice that the quantity for the AAA batteries has had a different style applied to it, compared to the quantity of the AA battery. This can help when picking and packing to reduce errors.
Adding a new column to the table
It is possible to add a new column to the table, this allows for more flexible designs. Default columns cannot be deleted. If a column is not required then change its visibility.
To add a new column click the Add Custom Column button at the top of the column editing screen.

This will add a new column to the screen. To add a Header Title click on the header title field and enter some text.

Next a Name needs to be added to the column. Click on the Name field, this will display the evaluation formula editer. Here you can enter either a variable or a condition with an output.
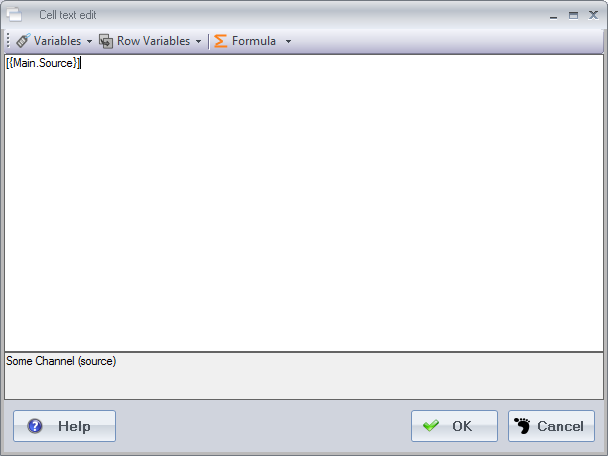
Once a name has been added; positioning, formatting, styling and borders can be applied.
Next click ok on the editor and you will see the new column added to the table.
Column sorting
Column can be applied to any column by clicking in the column sort cell for the appropriate column.
|
This symbol means Descending |
|
| |
This symbol means Ascending |
Multiple sorts can be applied at the same time.
Formatting
Column format is used to display how the column appears. For example if a calculation is used then then the result may be more than two decimal places. In this case N2 can be used to round the value up to two decimal places.